Procedure :
Installing Gallery Remote
- Download GalleryRemote from (about 20MB): http://umn.dl.sourceforge.net/sourceforge/gallery/GalleryRemote.1.2.1.Win32.VM.exe
OR
Downloaded it from my server (slower): http://www.dynamicis.com/~superdave/howtos/files/GalleryRemote.1.2.1.Win32.VM.exe
- Save the file to your local machine.
- Double click on: GalleryRemote.1.2.1.Win32.VM.exe
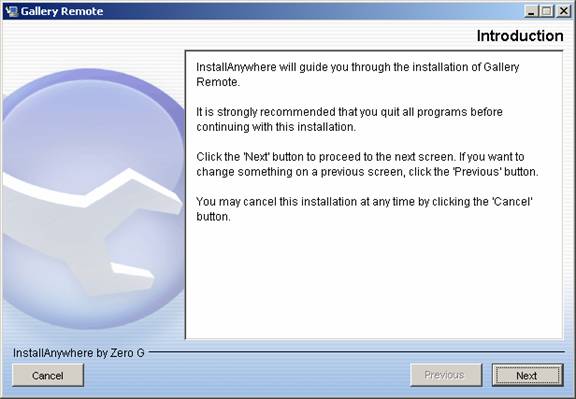
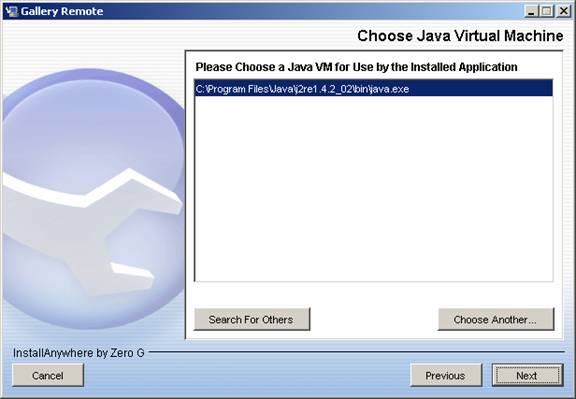
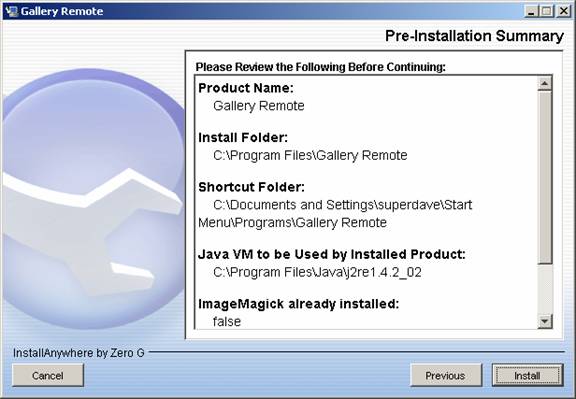
- Click Next
- Click Next
- Click Next
- Click Next
- Click Next
- Click Install
- Click Done
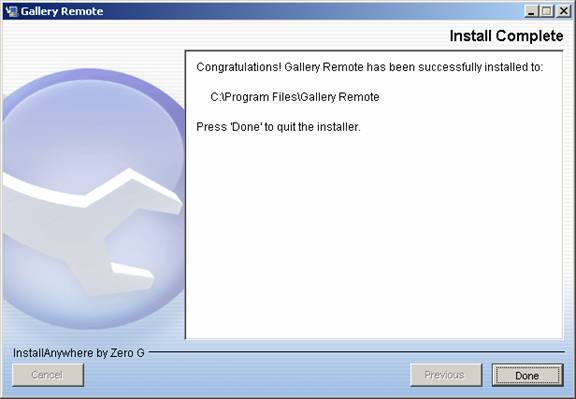
- GalleryRemote is now installed on your system.
Updating Gallery Remote
- Click on Start
- Click on Programs
- Click on Gallery Remote
- Click on Gallery Remote
NOTE: IF you see this error, click OK:
(if you continue to see this error after installing updates, you can download the file from: http://www.dll-files.com/dllindex/dll-files.shtml?msvcr70 and save it to c:\windows\system32)

- You will now likely see a screen similar to:
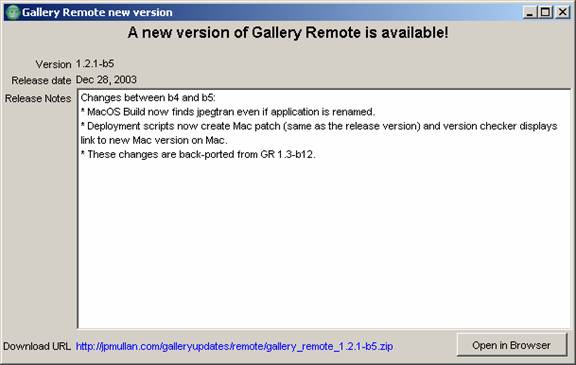
- Click on "Open in Browser". This will download the update of the Zip file. You will need an unzip utility similar to WinZip.
- Once downloaded, CLOSE the current instance of GalleryRemote.
- Now unzip the file to: C:\Program Files\Gallery Remote\
-This will ask to overwrite some files, which is fine. It is updating the necessary files.
-If you are not familiar with how to unzip files, you could simply close this pop-up window each time you go into Gallery Remote. You may also miss out on some possible new features.
- You will need to repeat this process until it stops notifying you of updates.
Configuring Gallery Remote
- Click on Start
- Click on Programs
- Click on Gallery Remote
- Click on Gallery Remote
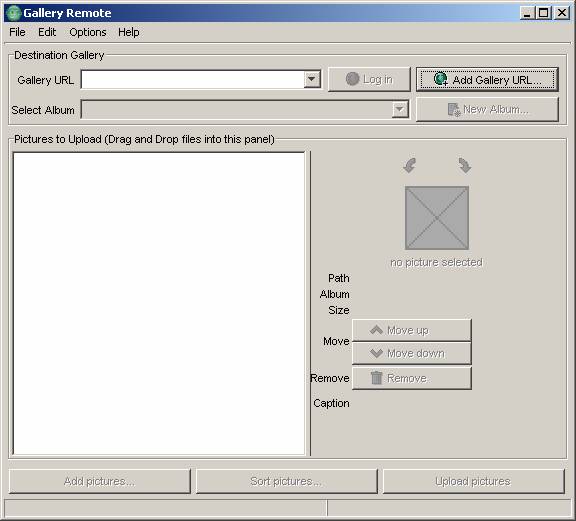
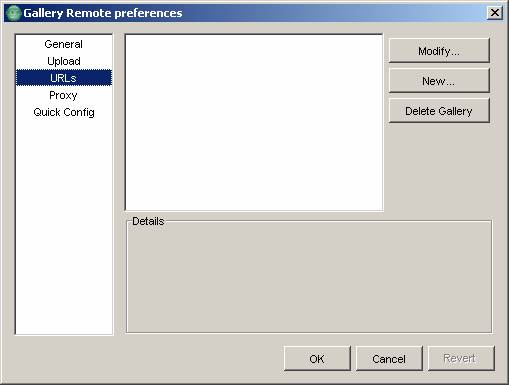
- Click on Add Gallery URL
- Click on New
- Enter Username
- Enter Password
- For Gallery Type, select "Standalone".
- For Gallery URL, enter http://www.breiland.net/gallery
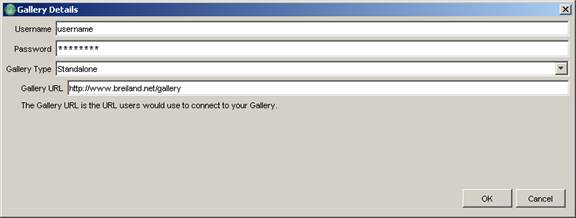
- Click OK
- Click OK
Uploading Pictures
- Click on Log In
- Select your gallery
- Click on New Album
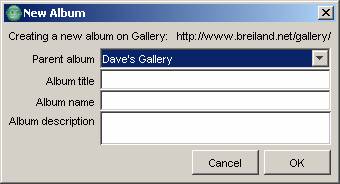
- Make sure that "Parent Album" is YOUR album.
- Choose an Album Title
- Choose an Album Name. this will determine the URL (i.e. http://www.breiland.net/gallery/new_album_name). Make sure it is unique, and does not have spaces in its name.
- Enter an Album description.
- Click OK
- Click on "Add pictures"
- Find the image(s) you want to upload, and click Add.
- You will now be able to select each picture and see it in the Preview window
- You will also be able to:
- Change the order the pictures are uploaded with the "Move Up" and "Move down" buttons.
- Remove pictures with the "Remove" button.
- Rotate images using the arrows above the thumbnail on the right side.
- Edit the Caption of the picture in the "Caption" box.
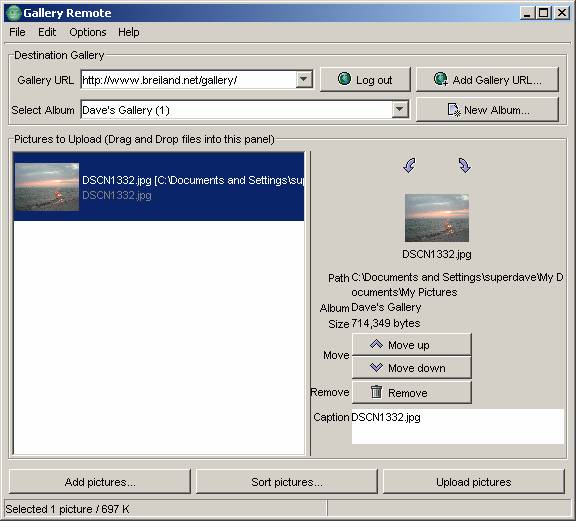
- When you are ready, click the "Upload pictures" button.
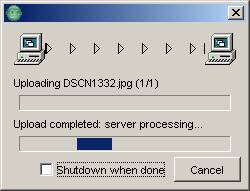
- During upload process you should see a window similar to:
- When done click on "Logout", File, Quit
|